Two Go Mad In The Garage

How two numpties try to build a Westfield kit car.

Sunday, December 17, 2006

Bonnet Catches and Sikaflex

The main work for the weekend has been on the bonnet catches. There are two ways of securing the bonnet.

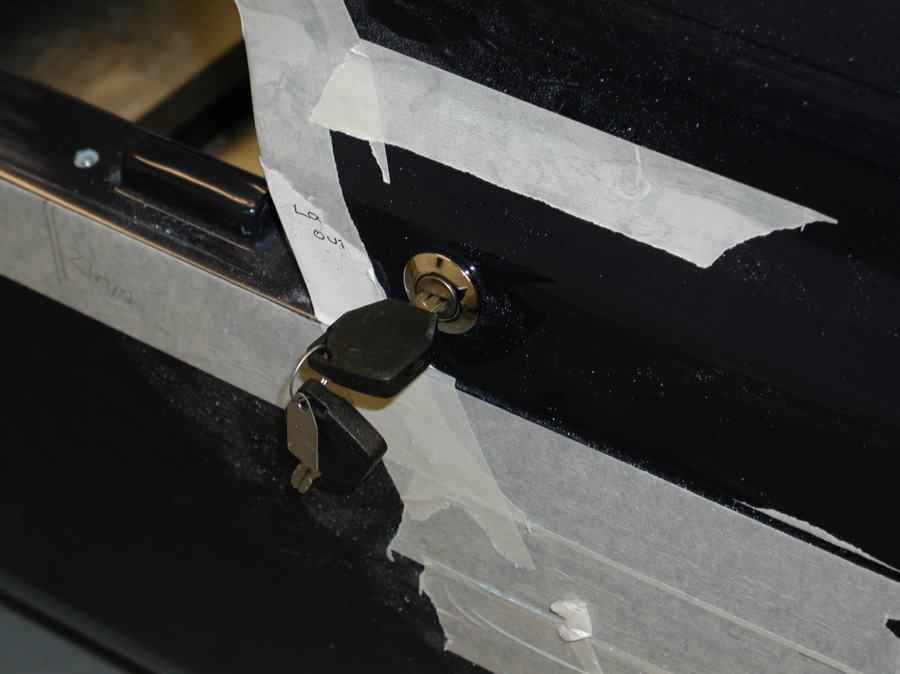
A pair of over centre catches on the outside of the body, that look pretty awful but make it harder for you to set off with the bonnet unlocked (leading to enbarrassing flying bonnet syndrome) - or a pair of nice looking locks that make it easier to pass the SVA test but are apparently right so and so-s to fit.

We have gone for the prettier trickier catches.

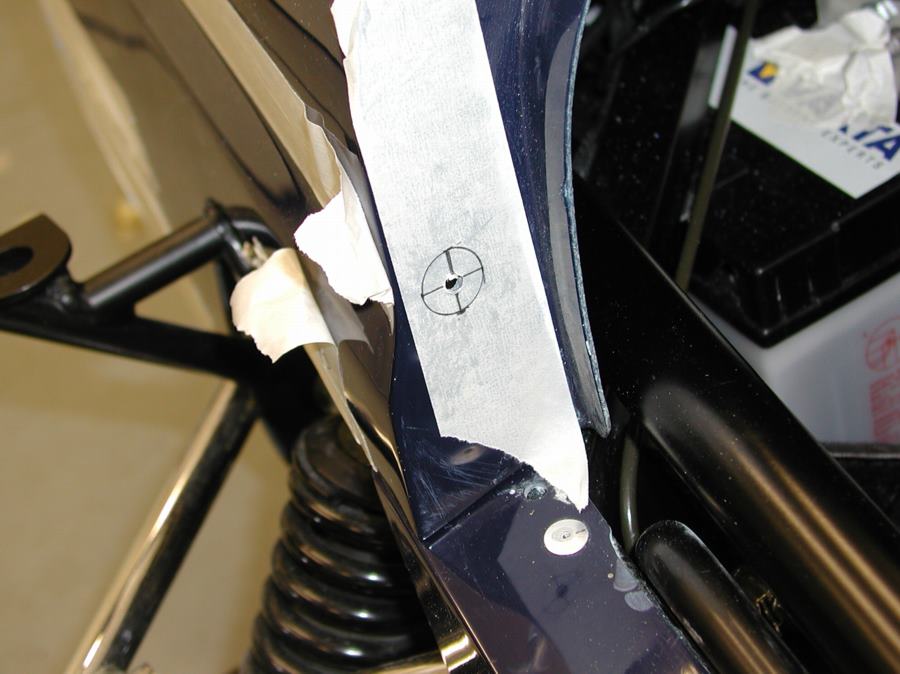
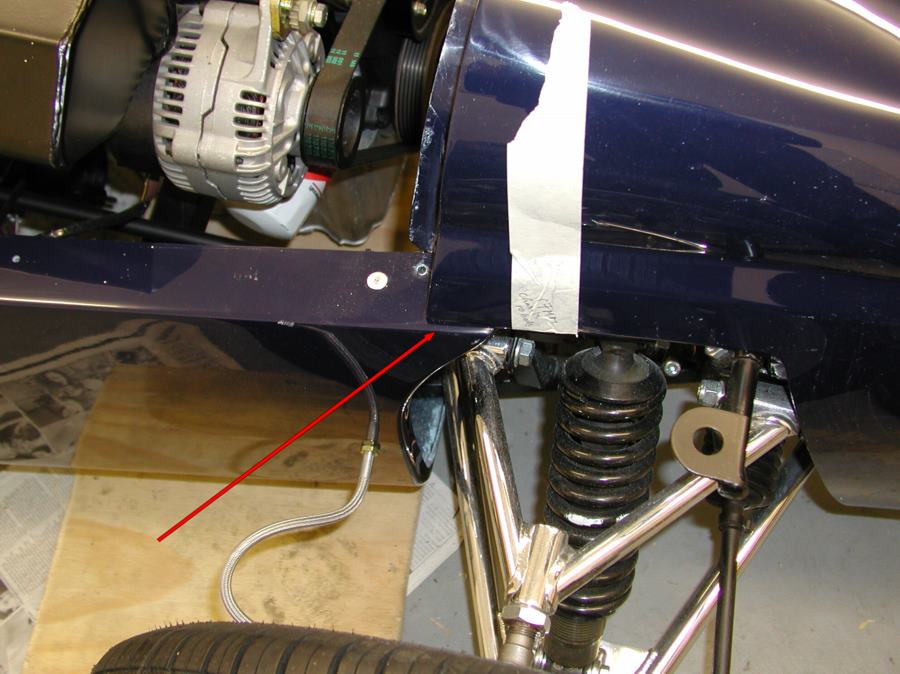
First job is to cut some holes according to the templates that come with them... The locks then need disassmbling and reassembling to fit through the bonnet. This is the relatively easy bit, as the next job is to align the catches with the lock on the inside of the bonnet and attach them to the chassis.

This requires triming of the bonnet return flange, the body and then raising up the catches on some sort of packing to get the right height.

Most of this work is done, but we don't have suitable thickness ali so will have to wait until that arrives in the post.

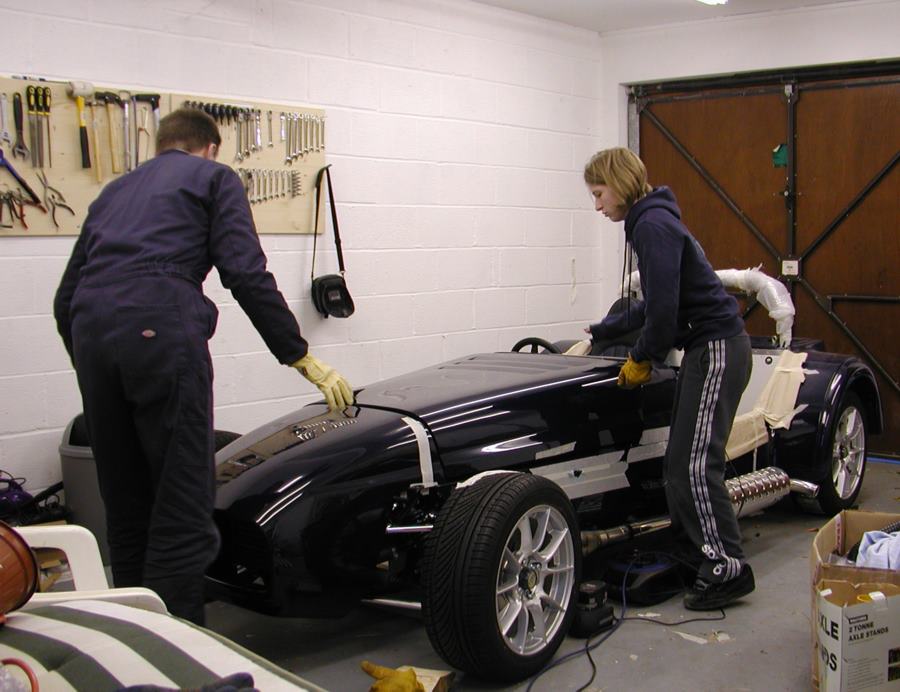
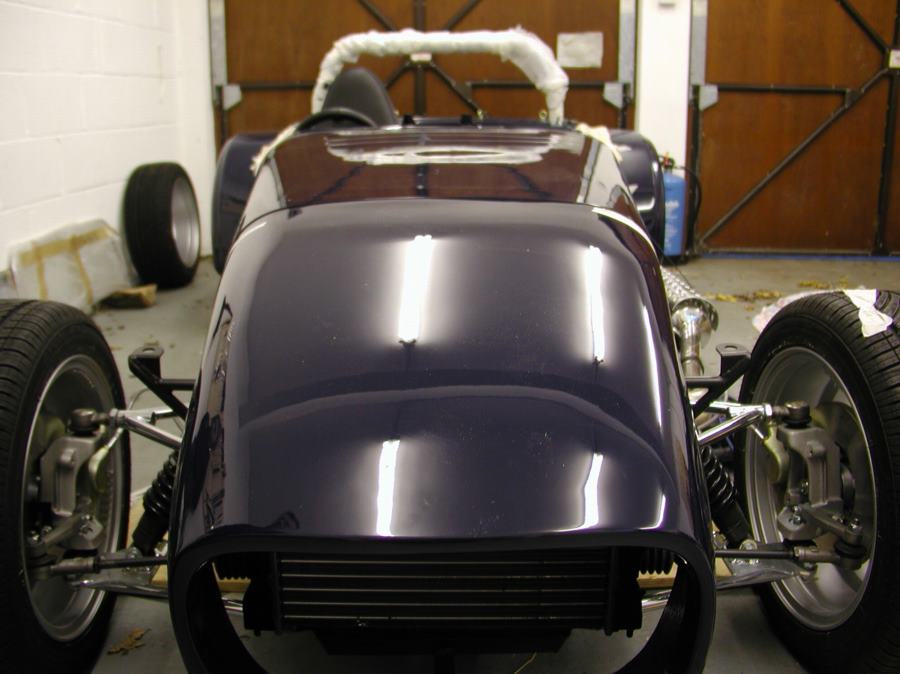
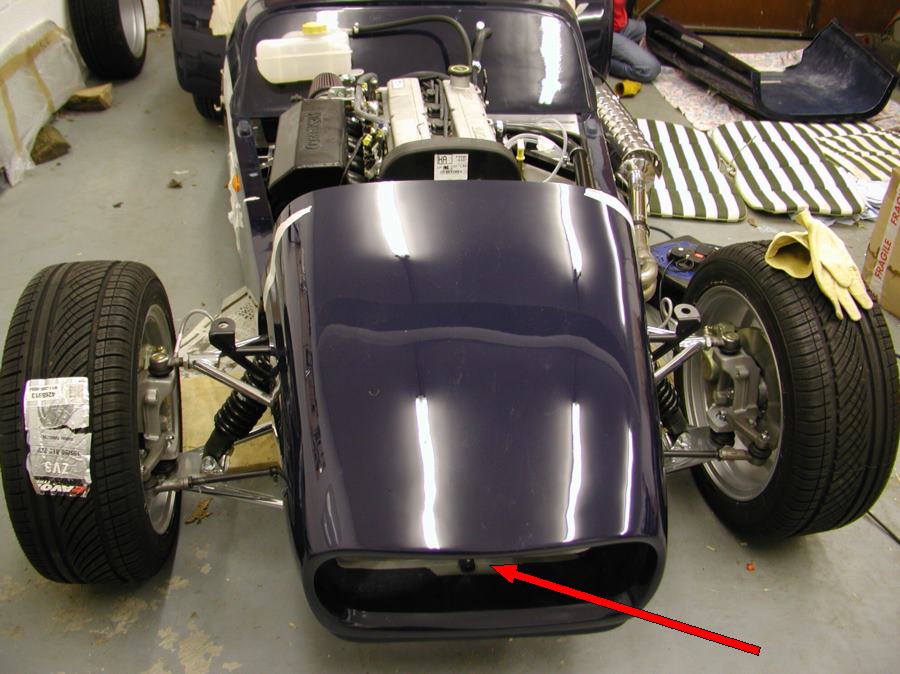
The other job we did today was to mount some cable tie posts onto the inside of the nosecone using Sikaflex so that we can cabletie the front grill in place - a horribly crude fixing mechanism but one that others seem to have used successfully. Here is Chrissy in her oh so fashionable purple disposable gloves applying the adhesive...


Sunday, December 10, 2006

indicators and bonnet front attachment


Made some progress today - got the indicators assembled (using self tappers rather than the rivets suggested in the manual) Drilled out the holes for the indicators on the nose cone, and did the very tricky job of drilling out large holes in the nose cone to fit grommets into which the pins that are now screwed into the bonnet slide, it seems to work OK, and does improve the 'shut' lines where the three panels meet at the front of the bonnet.


Here is a complete list (we think) of what there is left...

fix fog light switch
Drill out dashboard
reversing light connection
Empty water system
Disconnect dashboard
Brake Lines - template?
Drill and fettle Rivnut holes for scuttle in body
Drill and fettle Rivnut holes for scuttle in scuttle
nose cone rivnut location and drilling
Bonnet Grommets and lugs
nose cone grill
front indicators mount
front indicators wire up
Bonnet Locks?
Fix top Body
Nail on lower body
speedo wire up
rear mud protectors
indicator repeaters
Bleed Brakes
Windscreen pillars and mirrors
Windscreen
Side screens? when?
Wiper wheel boxes
wiper motor
wiper motor rods
wipers
washer jet
demister pipes
interior panels
Scuttle wiring loom hole
Nail and stick scuttle down
VIN plate
spare wheel bracket
spare wheel retainer and fixing stud
number plate panel
number plate light
boot box bolts
front cycle wings
interior mirror
dashboard trim
top cover aluminium panels
gaiter for handbrake
gaiter for gearstick
carpets
crashpad
headlamps
sort out termination of throttle cable
fabricate retaining clips for dash


Sunday, December 03, 2006

Chuckle Brothers at Work

Another hour each in the garage this afternoon, which saw the rest of the nosecone fitting

We enlarged the slightly off location hole in the right general direction, and then drilled out the final nosecone fixing hole - which by a combination of guess work and measuring (and luck) seems to be in the right place.


As you can see from the following photos, it looks ok-ish with the bonnet on too.

Though in fact the bonnet and nosecone don't line up - the bonnet sticks out further than the nosecone where they both rest on the body.

We are hoping that when we put the pins and grommets in that join the two that will pull them back into line. However we need an 18mm hole saw, and we don't have one, so that will be for ebay to solve in the week.

If we both get some school/office work done now, we might get out again later to start on the front indicator fixing.


Pictures - Copyright (c) Anna Pearson 2006

Saturday, December 02, 2006

Two holes took two hours....

....and one of them is in the wrong place!

Still nothing can depress us today, as we have just come back from watching Arsenal beat Spurs three nothing.

Tim did a little work yesterday to finally get one of the repeaters to fit through the body as you can see below.


But even now it doesn't sit very nicely, and the only way he could get the repeater in at all was to cut the retaining clip off, as several other builders (but not WF) had advised. We
will stick the repeaters on with clear silicone sealant.

This evening we moved on to fixing the nose cone on, the manual says to fit the bonnet locks first, but we thought that fitting the nose cone first would be better.

We recovered the bonnet and nose cone from Chrissy's bedroom and bolted them together for the hundredth time and sat them on the car, we then marked out a hole to match up with the central retaining bracket which sticks out from underneath the radiator.

In the next photo we have indicated it with an arrow....

We also tried to measure and mark where the two holes should go through the lip of the nosecone into the rivnuts that already sit in the chassis. this is another horrible/impossible 3D measuring puzzle.


Then we took bonnet and nose cone off, undid the bolts that were used to hold them together and drilled the lower retaining hole - this one was relatively easy to get in the right place as we just filed a pencil thin enough to go down the M8 hole and marked on to some masking tape.


However even after a lot of measuring, pilot holes, fettling out, we seem to have got the first of the two holes in the lip of the nose cone in the wrong place, as you can see from the last picture in the sequence it isabout three millimetres inboard of where it should be....

More fettling required tomorrow.

Enough for now.


Counters
Site Counter