Two Go Mad In The Garage

How two numpties try to build a Westfield kit car.

Monday, February 26, 2007

Brakes Bled?

We have bled the brakes this evening, using an Easibleed thingy. Not really sure if it's worked or not.

You can pump the brakes up a bit but don't really know what is good/bad. Anyway the brake pedal works, and I think we will leave for 48 hours do some more bleeding and leave it at that til we take to the factory for set up.

Sorry this isn't really a very visual post as not much to see!

Of course if we haven't done it right we'll let our relatives post the crash pictures.

Sunday, February 25, 2007

Lots of time, little progress, dont mention the football

With the help of local Westy owner Steve, we have made a little progress with the windscreen, here you can see Chrissy and Steve with it sort of in place. The dimensions are still not perfect so a phone call to the factory tomorrow.

Tim has a bad back so was very grateful for Steve's help.

We pressurised the brake system using an EZbleed thing, but didn't actually bleed them as noticed that the master cylinder had some fluid in and didn't want to mix synthetic and non-synthetic fluid. Another thing to ask the factory about.

Lots of other little jobs fiddled at over the weekend, including some holes for the windscreen washer pipes and jet (another area where the manual lies - don't drill an 8.5mm hole in the top of the scuttle, about 6.5 will probably do...doh!)


We also fettled away a bit of the return flange from the scuttle to enable fitting of the upper interior panels that were previously fouling the scuttle and body.


Then we fitted the cover for the pedal box - this - as always - required hacking away some of the glass fibre so it didn't foul either the bonnet catch mounting or the bottom of the bracket that holds the header tank up.

We have used three thread cutting M5 bolts as we will need to take it off again and run sealant under the outer edges ...but we'll save that until we have some sealant on the go.


A degree of panic is setting in as it is only three weeks tomorrow that we are due to take to westfield for set up....

Friday, February 23, 2007

A date for SVA and a bad back (again)


Oh dear oh dear oh dear!


I don't know what is more worrying - the old geezer having a bad back again or the fact that we now have a date for the SVA test - 26th March - eeek!


Anyway due to recurring injury the best Tim was able to do was put some connectors on the headlamps, while Chrissy got on and put the kick plates on using velcro (the kick plates cover the lip of the body where you get into the cockpit) The rounded end needs to go towards the back.


We have also drilled out some rivet holes for the little interior panels that fit in front of the kick plates as you can see here - this is ok on the near side but on the off side the body and scuttle return flanges stick too far in to the body to allow the panel to fit ... can't just trim these flanges as they are used at the relevant places to provide the mounting which allows the two to positively fit together....we'll have to put our thinking caps on ....as well as get our skates on to get the car finished in time for the test.

Monday, February 19, 2007

VIN


Today we put on the VIN plate, hardly an earth shattering job, but a little task to tick off the list.


Mark said the correct place to put it was on the scuttle face - here it is ....ta daaa -
Having a little fight with Vosa over the SVA test application, they wrote back asking for us to swear on a stack of bibles that we had built the car (apprarently normal) then they also suggested we had got the weights wrong,...but we hadn't. The maximum weights for car and 'axles' are actually shown on the VIN plate that we have just installed.


Monday, February 05, 2007

Windscreen tacked in place


We have tacked the windscreen in place tonight, at the moment it is only held up by two bolts through the pillars instead of four. We need to fit all the hinges to the sidescreens to be able to check the measurements. Tim is worried the offside pillar is set a bit too far forward, but then he always was a worrier.

As always our productivity was low, this job taking us an hour and a half each. So many ways you can get the measurements wrong!

Sunday, February 04, 2007

Boot box fixings

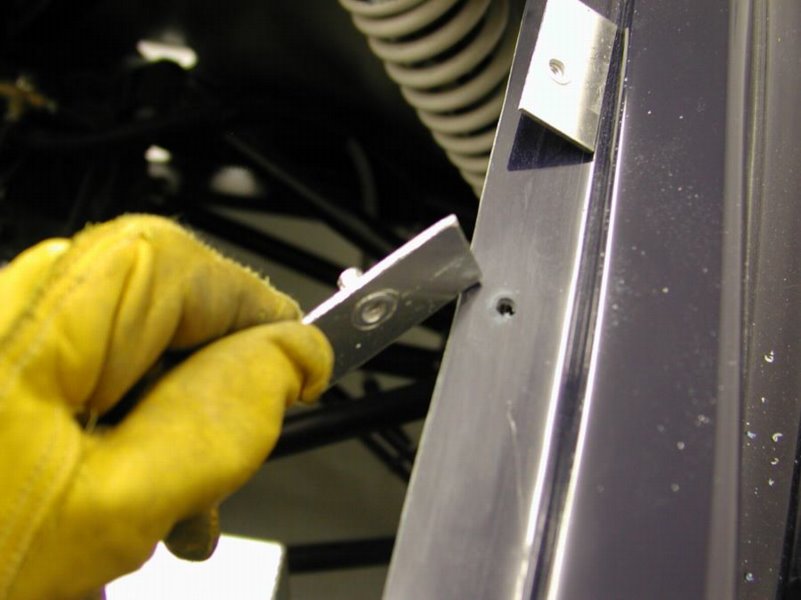
Three and a half hours each in the garage today, and some small but forward steps. First off we did a big tidy up. Then we did some finishing off on the spare wheel holder, filing out the body holes a bit so the large bolts that hold the spare wheel wouldn't fould on the body at all, and putting some convoluted tubing around the cables where they feed to the number plate lamp.

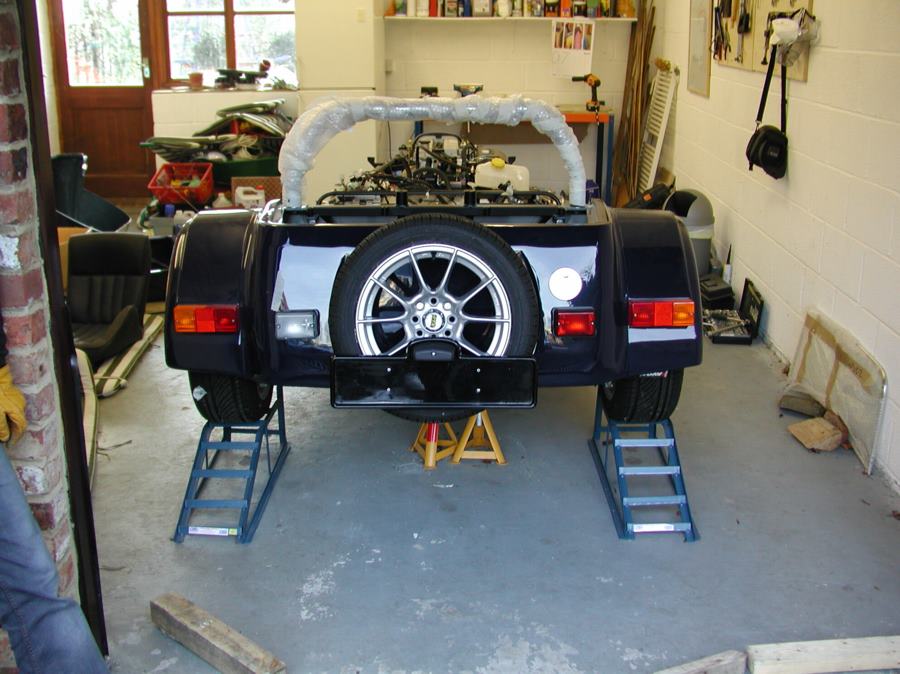
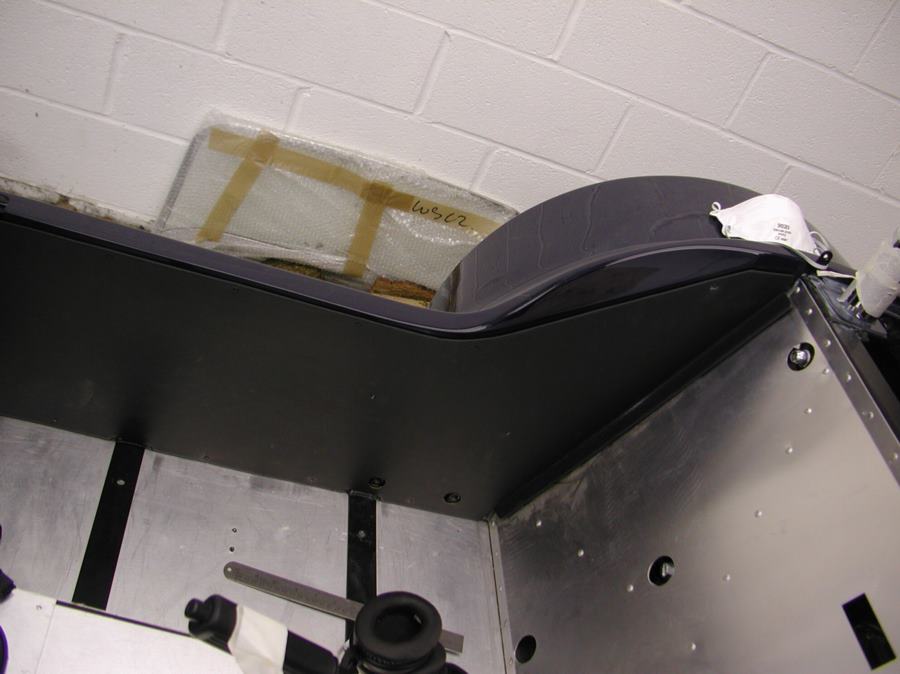
Here is a pic of the spare wheel in place, which for some reason the old geezer was really pleased with and 'er indoors had to be brought out to admire..


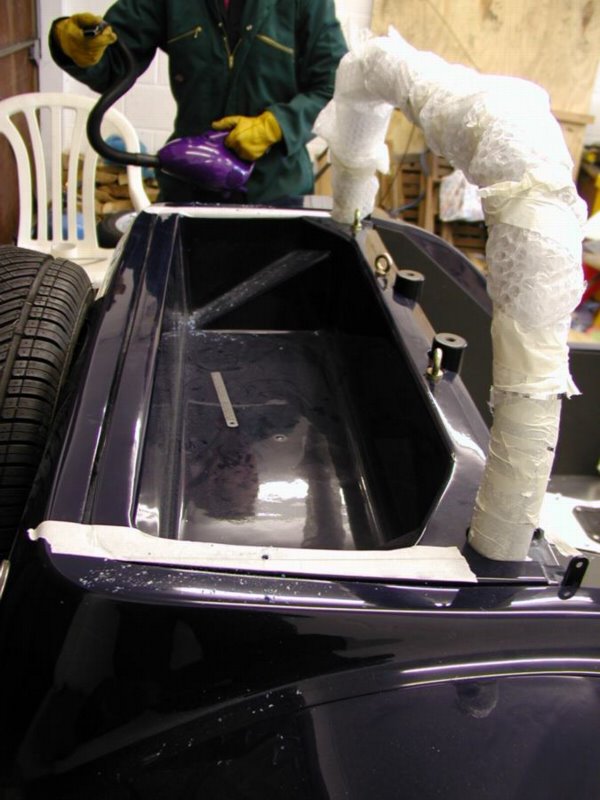
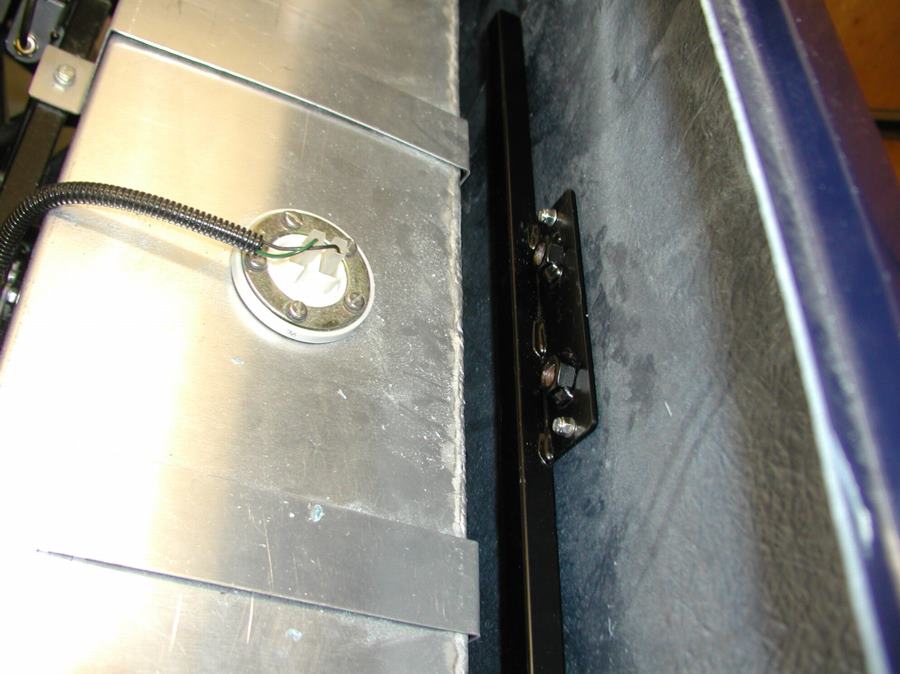
Chrissy then spent some time constructing a boot box securing mechanism that didn't involve reacing underneath the rear wheel arch with a spanner if you want to get the boot box off.


She put some rivnuts into some 3mm aluminium and then araldited those pieces onto the underpart of the body having drilled through both boot box and body, using some bolts to ensure the rivnuts were aligned with the drilled holes.


This is now complete, but Tim had to order on ebay some longerM5 bolts as we don't have any long enough to go all the way through the boot box into the body.


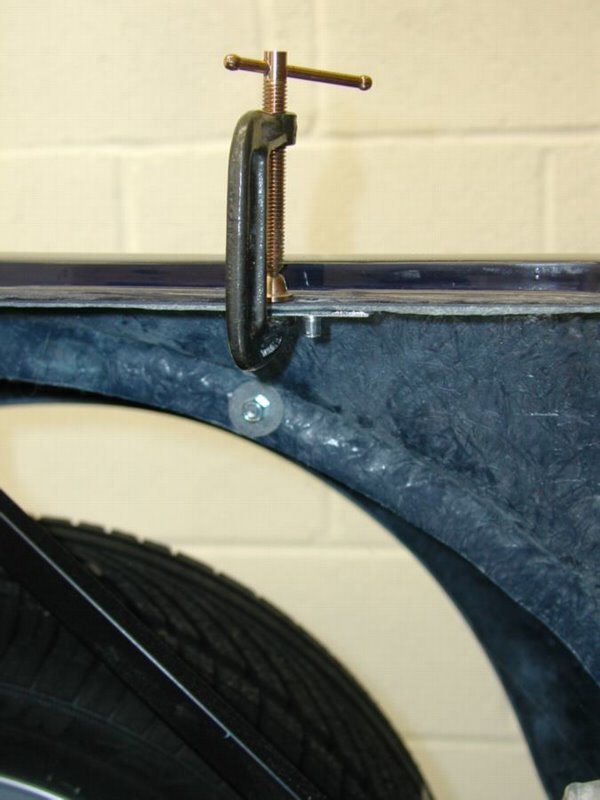
Tim spent a lot of time sorting out the rest of the top covers for the transmission panels. For the rear panels, we used thread cutting M5 bolts that we got the factory to send us, as the heads on these should stand less pround and therefore enable the carbet to go over better. Another simple job that took a long time due to various trivial snags.


In the meantime here for our records are the things we have to do to get the car finished,

We have added 21 tasks since we last put a list up, so it doesn't feel like we are much closer to the end! But on the other hand, the key obstacle to pass now is the windscreen, and before we packed up today we made a start on that, by cutting some lengths of wood to 1010mm - to act as a sort of jig as recommended in the manual. We hope to get that on tomorrow.


fix fog light switch
Drill out dashboard
reversing light connection
Empty water system
Disconnect dashboard
Brake Lines template?
Drill and fettle Rivnut holes for scuttle in body
Drill and fettle Rivnut holes for scuttle in scuttle
nose cone rivnut location and drilling
Bonnet Grommets and lugs
nose cone grill
front indicators mount
front indicators wire up
Bonnet Locks?
Fix top Body
Nail on lower body
speedo wire up
handbrake rubber gaiter and bezel rivet in place
cut second hole in top transmission panel
split top transmission panel
splint top transmission panel
mount other solenoids
Scuttle wiring loom hole
spare wheel bracket
spare wheel retainer and fixing stud
number plate panel
number plate light
number plate light wiring
attach wing mirrors to pillars
interior panels

indicator repeaters - need double sided tape
Bleed Brakes
Attach windscreen pillars to scuttle
Fit windscreen
Fit Windscreen fillet
Side screens? when?
Wiper wheel boxes
wiper motor
wiper motor rods
wipers
washer jet
demister pipes
kick panel things - how?
Rewire up Dashboard
Nail and stick scuttle down
fit pedal box cover
VIN plate
boot box bolts
front cycle wings
interior mirror
dashboard trim
top cover aluminium panels
mark up carpets for cutting
carpets
crashpad
headlamps
refill water system
sva stuff
crash pad
rear crash pad retainery thing

Saturday, February 03, 2007

Interior panels

We spent the day fitting the interior panels, this was another classic underestimate of the time to take - the panels are flat and fit perfectly in the sides of the car, so how long can it take to drill forty holes and fit forty rivets - surely two hours at most.

Well I reckon we've now spent a total of 10 person hours fitting them.


Working out where to drill to hit chassis rails. Needing to source black 3.2mm peel rivets, 3.2mm black regular pop rivets, and finally some really top quality bosch hss-g 3.3mm drill bits -


were some of the problems - but getting any drilling done down in the footwells was also a real pig - in one of the pics here you can see Chirssy doing her impression of a mole.

You can also see her wearing some expensive bose headphones as makeshift ear defenders, as the dremel-a-like makes a hell of a racket when trying to go through the chassis rails. Anyway job done.

Thursday, February 01, 2007

number plate, spare wheel and a scratch

Tim has done some fiddling around in the garage for about four hours over the last week without Chrissy - as she has been off on her selection board being shouted at by burly NCOs and told to put on some weight.

Tim has soldered on the bullet connectors for the number plate lamp, and rivetted the number plate in place, and then worked on the fitting for the rear wheel upper bracket. This sits inside the body as you can see from the photo on the left, all seemed to go well until very close to the end Tim's file slipped as he was cleaning out one of the holes he drilled and he put a bl**dy great scratch on the rear body work. This will be covered by the spare wheel, and anyway can probably be fettled away, but even so very annoying.

In the meantime we have had some black peel rivets (from WF) and black regular pop rivets (from ebay) delivered to allow us to rivet on the interior panels.


Counters
Site Counter