Two Go Mad In The Garage

How two numpties try to build a Westfield kit car.

Sunday, January 29, 2006

As fast as we solve one problem we find another..


Some people say they have a love hate thing with the build manual, our feelings have slowly matured into a solid 'hate-hate' thing. It's connection with kit of parts supplied starts off a vague and loose thing, moves through tenuous into the territory of 'no connection whatsoever and frankly you'd have been better off without it'.


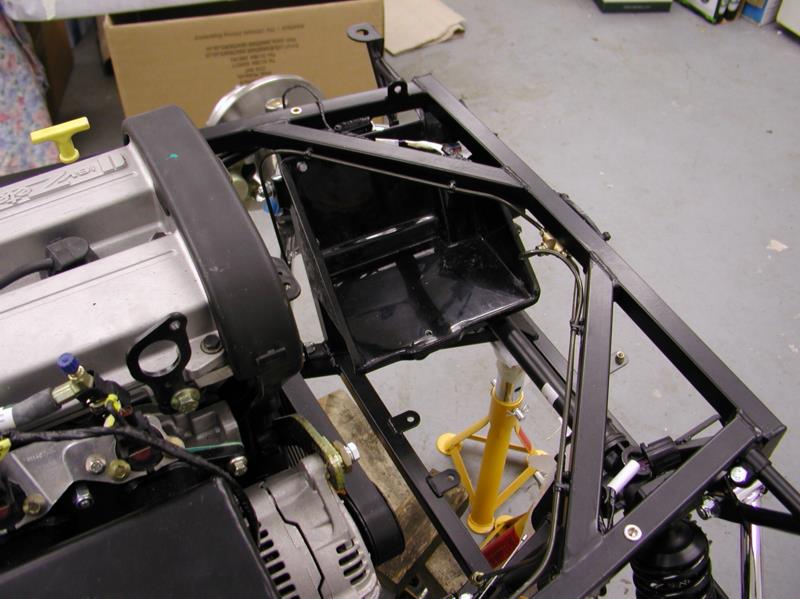
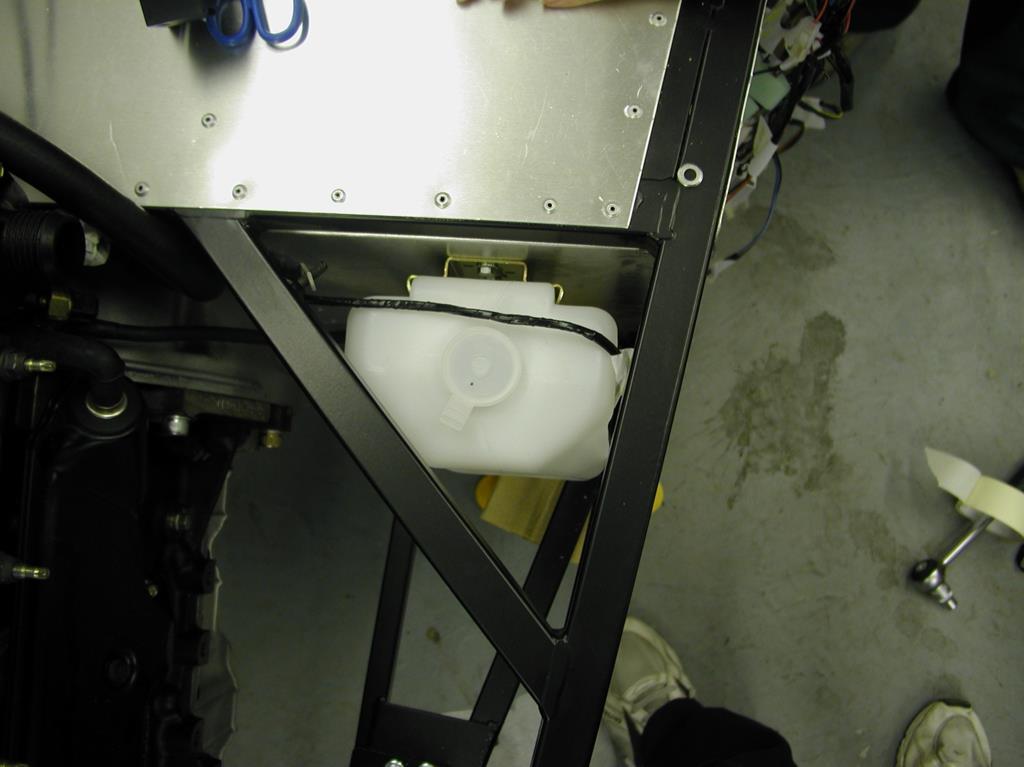
Anyway, some progress has been made - the washer bottle has been fitted, not in itself such a big achievement, but any step forward is appreciated!


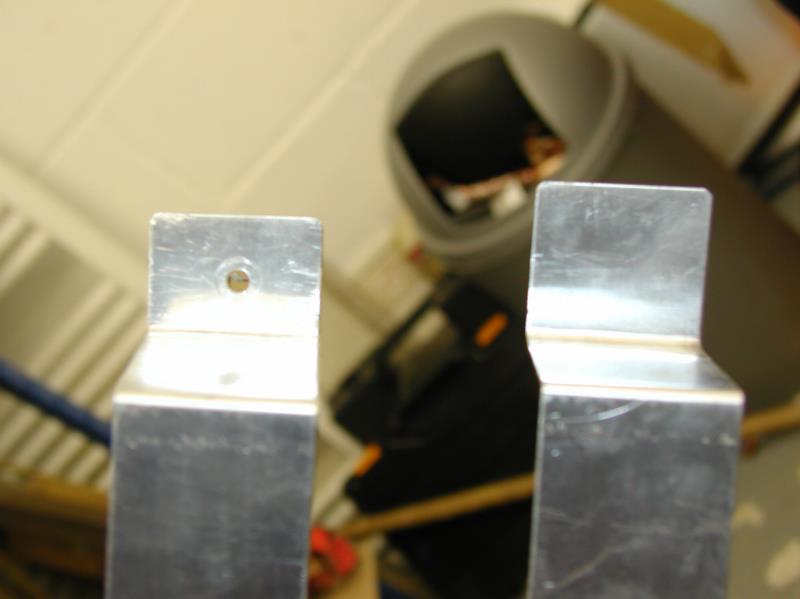
The manual describes the wrong type of fan fitting, what we did (for other builders) was to put a 6mm thread in the 4 outer plastic holes (those facing forward to the front of the car) - picture of tap with masking tape around it to stop the tap going through the plastic into the body of the radiator, the fitted the mounting plate shown in the picture which will also take M6 bolts.

Note we could find no suitable length M6 bolts and had to cut them down, file and put a die down them, we have had to do this for 14 bolts this weekend, 4 to hold the fan to the plate, 4 to hold the plate to the rad, 4 to hold th
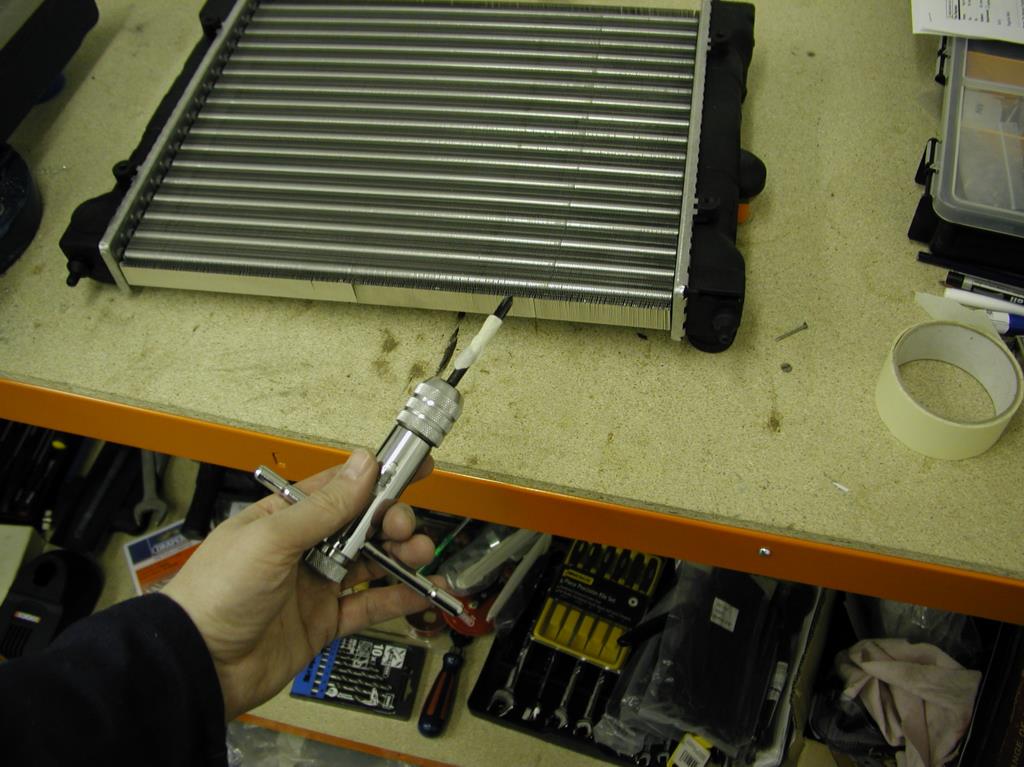
e rad on, 2 to hold the washer bottle on. What a bore.

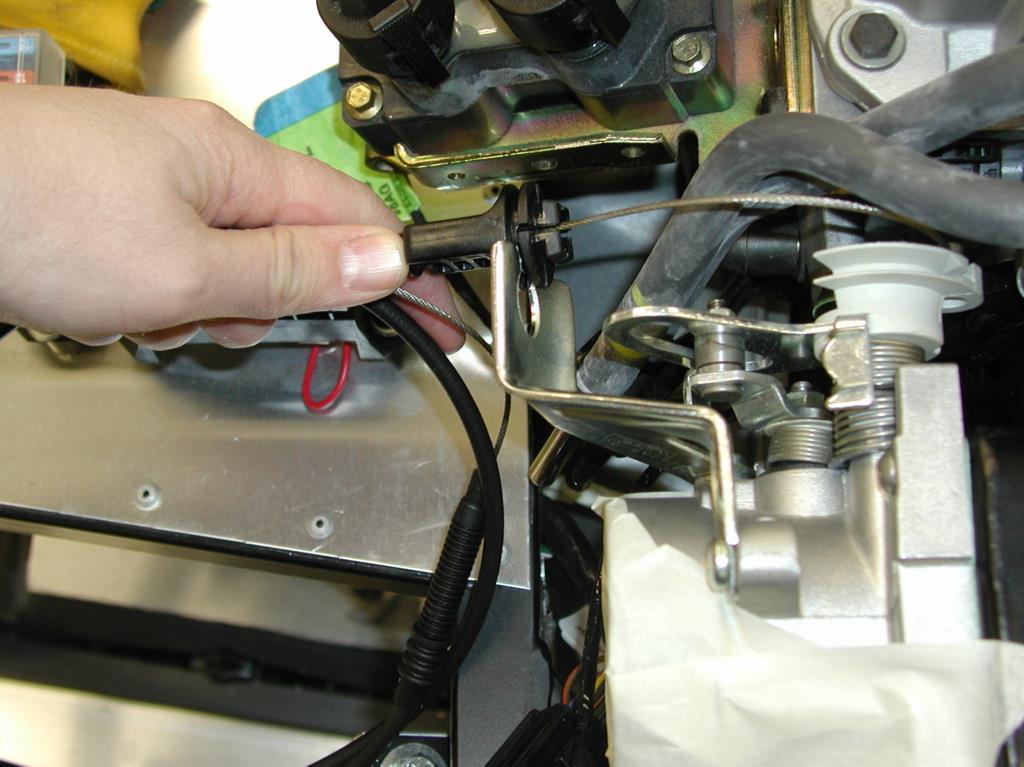
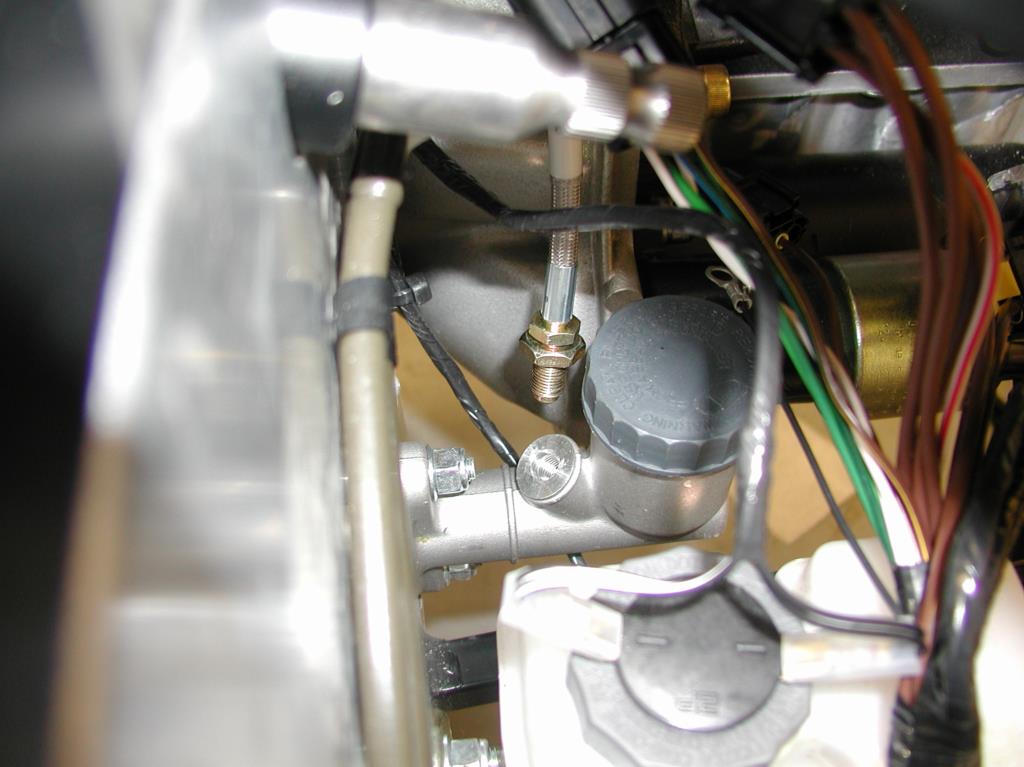
We have also found the parts to make up a connector for the lambda sensor (I have no idea what lambda is being referred to here), and we have by use of brute force, ignorance and a file connected the throttle cable into the top of the engine, and filed out the hole in the bodywork to accept the plastic fitting of the lower end of the cable. Confused as to how to adjust the cable though as can find no adjuster?

Still puzzled how all the loom connections are made, but slowly putting a picture together, will have to ask Westfield more questions next week.

Total man/woman time spent this weekend 7 hours.

Sunday, January 22, 2006

continuing to plumb

A total of around 8 man/woman hours on Saturday, and Sunday, combined with some questions on the wscc website (thanks to Paul and others for their help) has allowed us to make some progress. It all seems rather slow at the moment, but we are at least moving in the right direction. We have now fitted the hydraulic clutch cable, a 2 minute job if you know what you are doing, otherwise an hour and a question to Mark at Westfield.

We spent most of the time on two things this weekend: -

Firstly we (well Chrissy actually) relabelled all of the wiring loom from the new diagrams we now have (one found in the kit, one emailed from Mark at Westfield) this means identifying each connector and there are lots and lots of them.

Though we are still short of diagrams for the bit of the harness that runs to the starter motor.

Secondly, we have been continuing to plumb in all of the fuel cables. This afternoon that meant around three hours for three riveted P-clips into the chassis! We had to take one side of the rear suspension apart to get drill access and put it back together again, also there is lots of fiddling with the convoluted plastic pipe protector and lots of time spent complaining that knee joints don't work very well any more (Tim)

Thursday, January 19, 2006

Still working on various bits of plumbing

Work (Tim), Homework (Chrissy) have prevented much time in the garage this week, and we try and make it a rule to only work on our westy together.

But we have managed three hours (between us) this week. We did our first bit of riveting, to rivet some P-clips onto the chassis at the back to secure some of the fuel pipe runs, we made a major breakthrough when we discovered a new wiring diagram in one of the many packages, the one in the manual bears only a vague relation to what we have. Unfortunately we have not found a diagram for the engine harness, so we are still struggling a bit on that front. We have now managed to tighten the oil pressure sender into the block, courtesy of a very short adjustable spanner ordered from an online tool supplier.

We have located throttle cable (and worked out with Mark's help) that the one prefitted to the pedal is not the one to use. we have also located the hydraulic pipe to connect the clutch pedal to the solid hydraulic pipe coming from the gearbox. It isn't entirely clear how to fit either to our limite brains - pictures follow -

Sunday, January 08, 2006

More odds and sods

Arsenal v Cardiff City yesterday, so no work on the car.

After furniture shopping this morning (Tim) Whoppeee! or Lying in bed (Chrissy) we did put in a total of four Man/Woman hours this afternoon.

We torque tightened the prop shaft bolts. We modified the wrongly supplied fuel tank straps - an as supplied and as corrected versions shown below -

Hope we haven't weakened them too much by unbending them and rebending them...


We also tried to connect fit the oil pressure sender having now got the size 40 Torx tool required to get the blank out of the relevant place int the engine. However we have no spanner which can turn in the available space so will need to go and scratch our head to work out how to tighten it up.

We finished putting foam around the chassis to mount the fuel tank and then we fitted the battery tray....


Need to get a rivet gun to finish off the fuel system at the back of the car now and it was freezing so we went inside.

Thursday, January 05, 2006

Just a little progress

Work has been slow, interrupted by a trip to watch Arsenal - ManU for both Tim and Chris, followed by some pesky interruptions of binomial theorem homework (Chrissy...well until she got stuck and asked Tim to help....a bit like asking Fred Elliot to help with some intricate brain surgery...Pascal's Triangle; I say; Pascal's Triangle )...but several phone calls with Westfield have allowed us to find and fit the locknuts on the propshaft to gearbox studs ...see below


We have to confess that we also found the four propshaft bolts for the other end of the propshaft that Tim drove all the way to Kingswinford for last week (doh!)...but, we guess like most people, we have found identifying the many parts is a very difficult task and Westfield could help by kitting it up more clearly (well that's our excuse anyway). There is obviously a right and wrong way to put the nut on, but Mark pointed out to us that actually it will only go on one way (double doh!). We have also fitted the feed and return connectors into the fuel tank with PTFE tape (a bit difficult, but if you (a) wind in the direction of the thread (b) don't put tape over the first thread then it's easy.

Wit Mark's help we have worked out where the engine oil pressure sensor/sender goes, see below....


Unfortunately we haven't fitted it yet, as we haven't yet found the right size Torx tool to extract the blanking stud that currently sits in that location- we have now got Torx tools for 55,50, and 45 but none of those fit and you can't just take the engine down to Halfords to try it out.

Total Man/Woman work this week so far - 2 hours.

Sunday, January 01, 2006

All work stopped for new year

No progress over the last couple of days and probably not until Wednesday night, as the need for us both to do work (Chrissy A/S level school work, Tim 194 emails to clear down) combined with a houseful of people for new year means no opportunity to work on the car - except just to prepare a list of all the things to ask Mark at Westfield when he returns.

We have noticed that we slightly damaged one of the brake pipes when putting the engine in, despite taping some cardboard around it - although it is only a minor problem and glueing the post back in and a little judicious bending will put it back in position ok.

Happy new year to everyone.

TimandChris

Counters
Site Counter