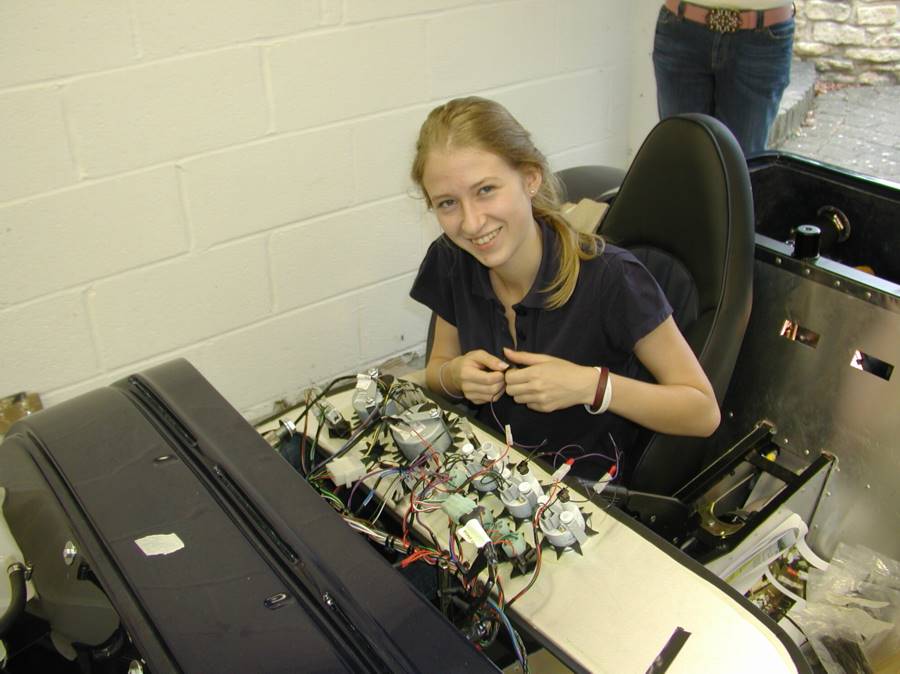
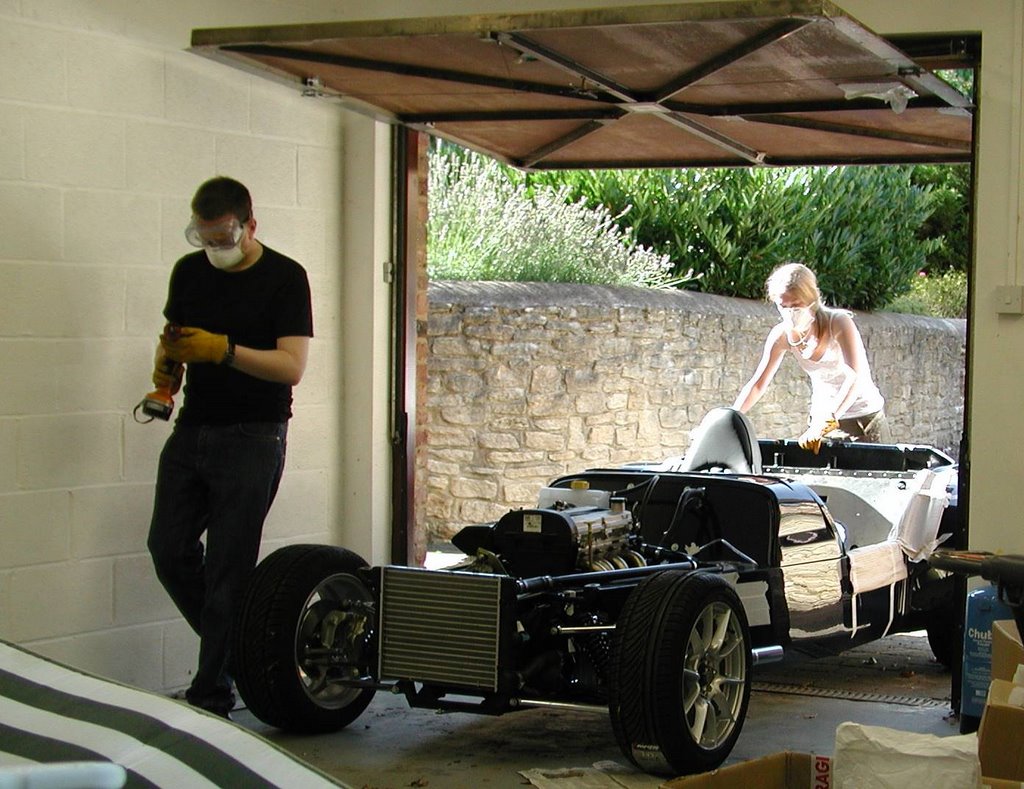
Did a few bits a pieces on the car tonight, can't show the pictures as the blogger site seems not to be accepting them.
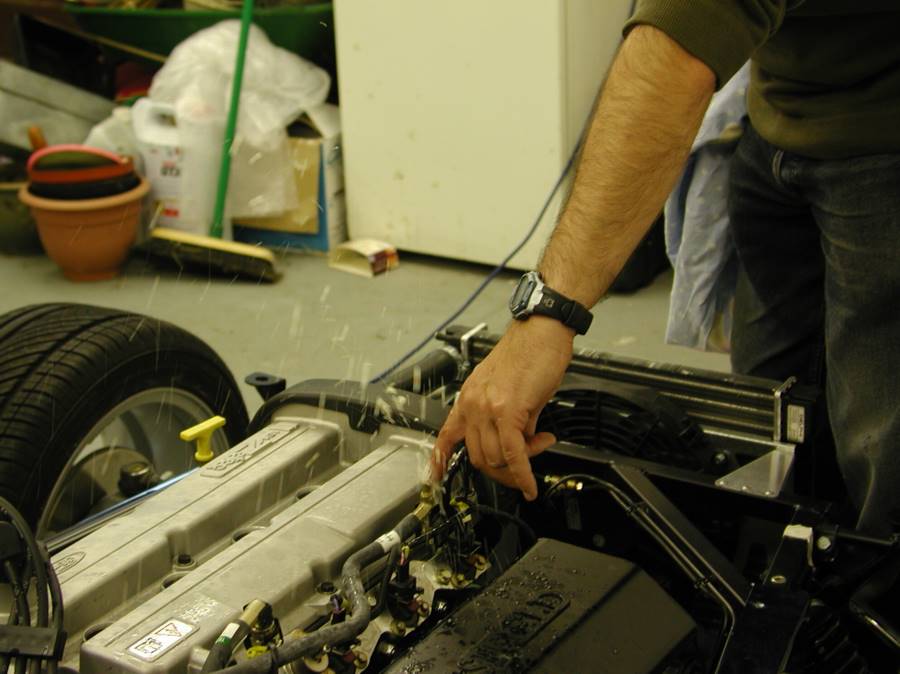
We spent a happy half an hour playing guess that fluid, by looking at what was being left on the drive and working out what it was. Steve came and helped - thanks again steve your advice is invaluable.
Found a couple of other minor little problems, and fix rather fewer, the current list is shown below.
2. Fix Fog Light
3. Fix fog light switch
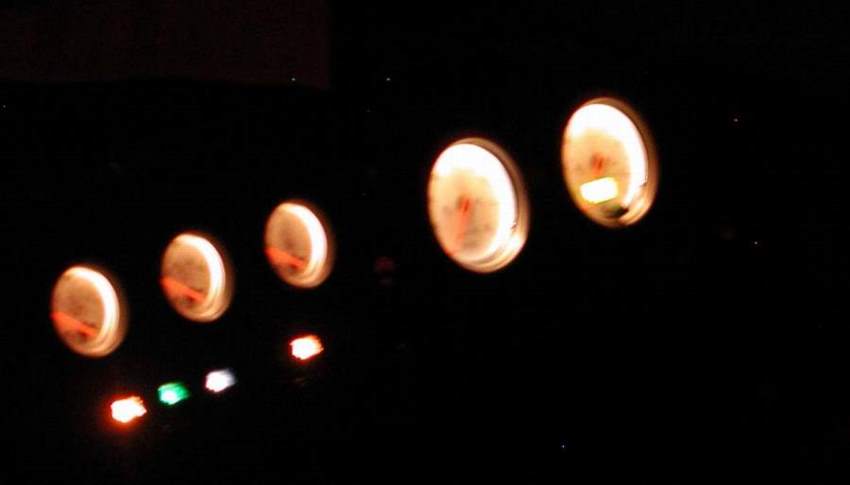
4. Fix Dial lights
5. Cable up the speedo
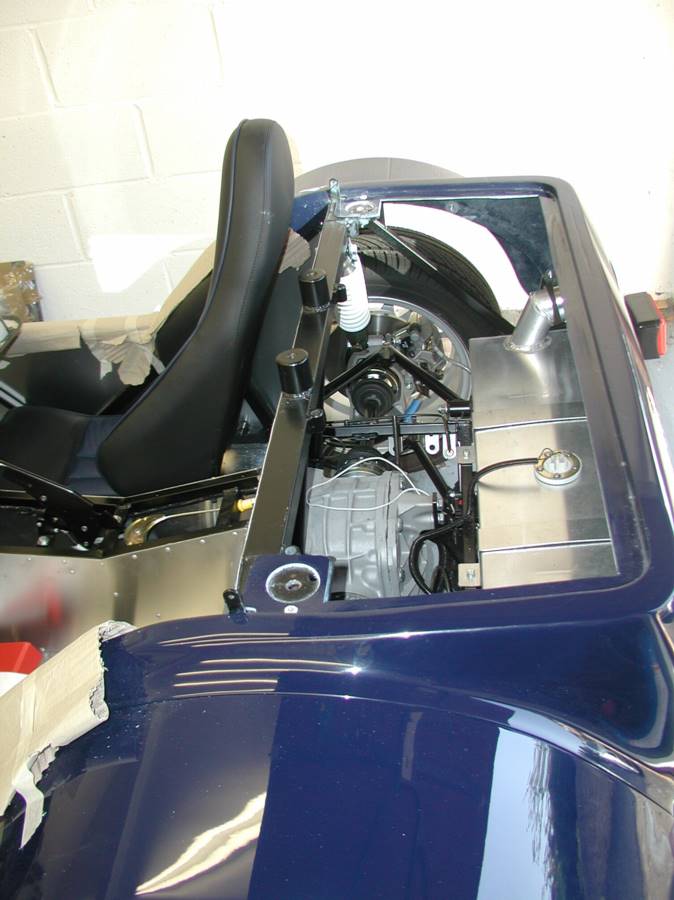
6. Scuttle wiring loom feed hole
7. Make the six remaining dashboard holes
8. Fabricate nine dashboard retaining sockets and glue on
12. check if we have front springs mounted properly
16. Drill out acess holes for rivnuts on chassis
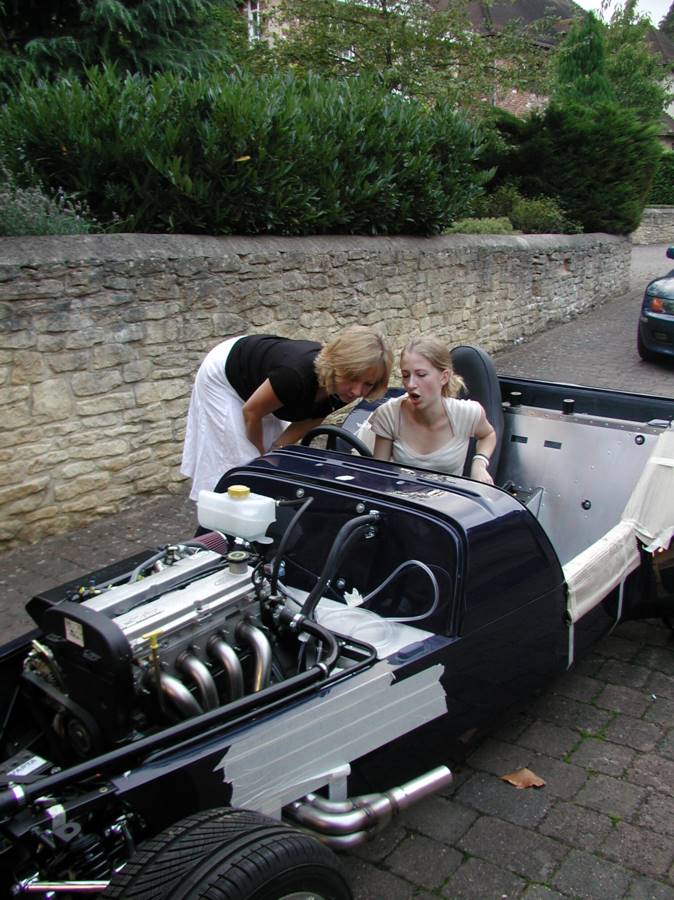
17. Nail the body on
18. check hand brake cable routing / tighten handbrake
19. check windscreen washer pipe routing and cut hole in scuttle for it
21. Restore covers to fuel pump connections
26. Cut boot box slots for roll bar
27. Cut boot box holes for saftery belt attachements
28. Fix boot box on
29 Fix Clutch
30. Change the bolt on the silencer mounting bracket
31. tighten oil pressure sender
32. find something to fill in the breather hole at rear of engine
33. adjust throttle idle (how?)
34. get new bulb
35. find leak at rear of engine
36. work out how main dial lights work