Two Go Mad In The Garage

How two numpties try to build a Westfield kit car.

Sunday, November 26, 2006

brake pipes fitted steering is stuck


You know how if you fly at very close to the speed of light around the universe that you come back and find thousands of years have passed by but you are only a little bit older (Well at least according to a well known patent clerk).

Well I'm sure there must be some similar effect in relation to kit car building and garages ...

You sit indoors rereading the manual for the 200th time, think oh yeah that will only take 5 minutes and pop out to the garage, but obviously the garage is moving very fast as when you come in and look at the clock, that 5 minute job has actually taken 2 hours.

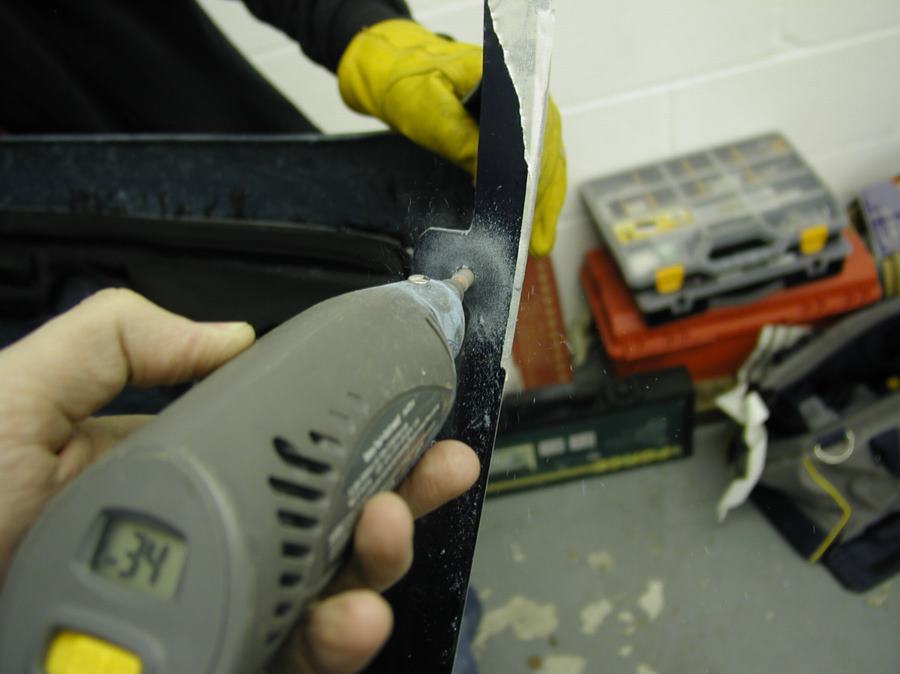
Over the last couple of days we have been fitting the front brake pipes, in the top pic the thin metal pipe shows it before we started bending it, a job that requires strength skill and precision. We have 0 out of 3.


We drilled a hole in the outer bodywork (7" down from the top of the body and 1" in from the curved front of the body, yes WF still thinks we have an empire and so is reluctant to let go of the imperial system of measurements) .

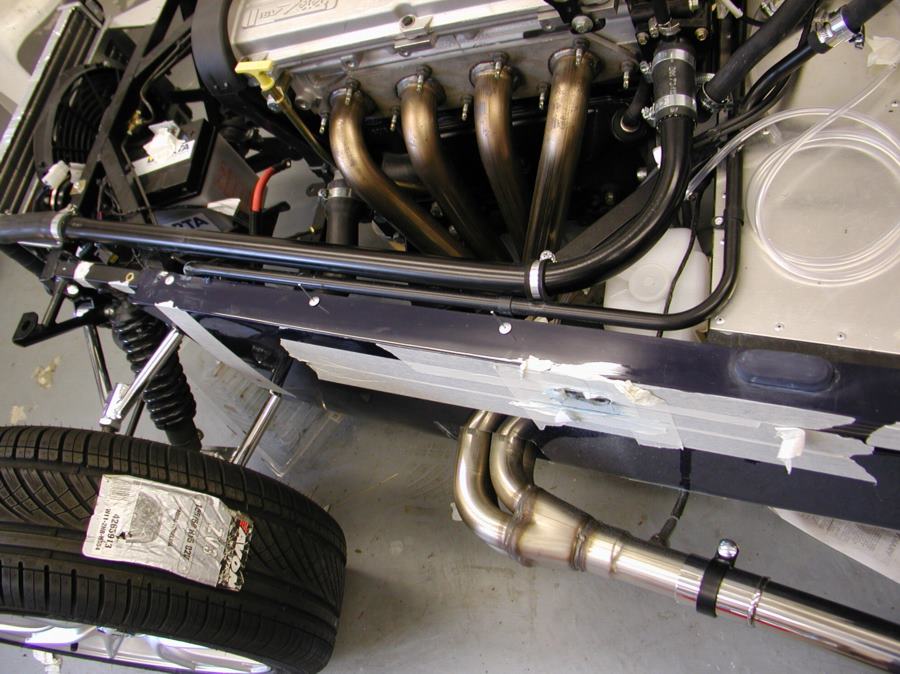
In the second photo you can see the fitted offside flexible hose


And in the third photo here you can see the fitted brake pipe on the inside of the body, as you see we have had to bend it to run inside the coooling system pipes.

All would be joy except in doing this we seem to have got the steering stuck...


We wound the steering completely over one way to get access to the body for drilling and it seems to have locked in that position.

Oh Bother....

Tim is out for the week from this afternoon so it will just have to wait


.....Late update -

Thanks harv of WSCC for pointing out that it was the er umm errr steering lock!!!! How stupid are we - almost as stupid as Dave Gove!


Thursday, November 16, 2006

Scuttle fixing holes

Over the last couple of nights we have put in an hour or so each and
measured out and drilled holes in the scuttle to match up with the holes in the body that we drilled out to get at the rivnuts in the chassis.

Once again after lots of measuring we started off with small 3mm holes put the scuttle on, used a tiny alan key as a feeler, drilled out to 6mm and then marked through the hole in the scuttle with an ultra thin metal nibbed tip-ex pen this showed how the scuttle hole lined up with the body holes we then fettled with the dremmel to enlarge the 6mm hole a little in the direction indicated by the tip-ex marks on the body -

Here you can see some fettling in progress.


And here you can one of the bolts which now runs through the scuttle, through the body and into the chassis.

That was all a lot of work for four fixing bolts.

Tuesday, November 14, 2006

A game of Find the Rivnut

An hour each in the garage this evening, in which we managed to remove the scuttle, and undo the heater (we are going to need to work on the windscreen and windscreen wiper stuff in a bit so don't want the heavy heater in there).

More importantly we managed to locate the rivnuts that are hidden under the body where the scuttle sits by some triple measuring and incantations to a selection of mechanical Deities.

Locating these rivnuts means working out where they are on the chassis and drilling holes in the body that covers them - amazingly we seem to have drilled all four holes in the right position AND we don't seem to have damaged the rivnut threads in the process - as this seemed to be too good to be true we packed it in for the night.


Sunday, November 12, 2006

Called in sick


Tim has had a rotten cold all week (is there a jab for man flu?) .

So no work for more than a week, even now Tim is coughing and wheezing like the old man he is.

Anyway some reasonable work on Saturday and just a little more on Sunday before we go to the football.

We jacked up the front of the car, undid one of the front hoses to drain the water system. Chrissy replaced the bung at the back of the engine that was leaking (and indeed once it was off we could see it had a split in it).

We crawled under the jacked up car to locate the reversing light switch loom - it was there just hidden. We connected that to the relevant connector (hoorah no need to change connector types) We reassmbled nosecone and bonnet (unfortunately both seem to have picked up minor scratches) and used them to position the front body, we then started to nail that onto the chassis see picture.

Hopefully more progress this week.

Counters
Site Counter