inertia switch (again) lambda (again) silencer (first time)
A combined six hours in the garage did yield some progress, albeit slow as always.

Our first job was to try and fix the inertia/fuel cut off switch. The original is bolted onto the chassis in the recommended (and almost only possible) location, but this means taking it off will probably mean removing the fuel tank - not nice now that is plumbed in and has the filler through the body work.
Bought a second hand switch from ebay in-case the problems caused by the original were just a faulty switch - see left.
The second hand unit came with the socket that was obviously meant to be used to connect to the switch this makes much more positive connection and in fact in turns out that the problem was that the awful westfield connectors just didn't have a good enough grip on the connection pins so no circuit was being made. therefore we soldered the traces on the socket onto the westfield wiring loom and thus were able to reconnect in the original switch and sure enough the pump whirrs when the ignition switch gets to position 2 - hoorah. I can even sell the other switch back on ebay.
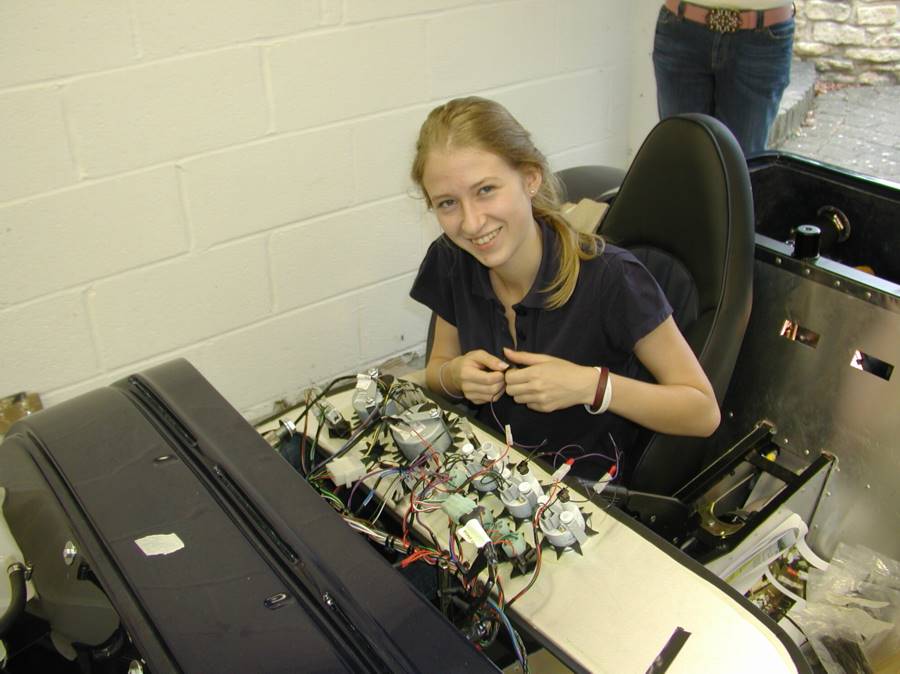
Chrissy spent some time trying to make the other dial lights work, but an hour or two only proved that halfrauds crimp on spade connectors + homebase crimp tool = no good connections and spade connectors that fall out...
We drilled a hole for the lambda wire to go through the body work, intending to put a grommet around it, however the bodywork is thick here and the grommets we had bought would not work, so we resorted to convoluted tubing to protect the wire feed. The had to take off the connector that Tim had previously sweated and sworn at to allow cable to be fed through body and then had to reconnect connector once done...as a very wise blog once said, expect to do everything on a westfield twice.

Final job for the day was to make a start on the silencer. This is one of the better bits of the manual as it doesn't mention the silencer or it's fixing anywhere at all. I always thinking silence is so much more appealing than lies - don't you?
Anywhay the chassis has an extra captive nut (is this called a boss or a bush I never know) forward from the two similar fixings for the seat belt.
Of course this gives the problem of how to position the hole on the bodywork. We had already solved this by drilling a pilot inside to out using the flexible dremmel attachment.
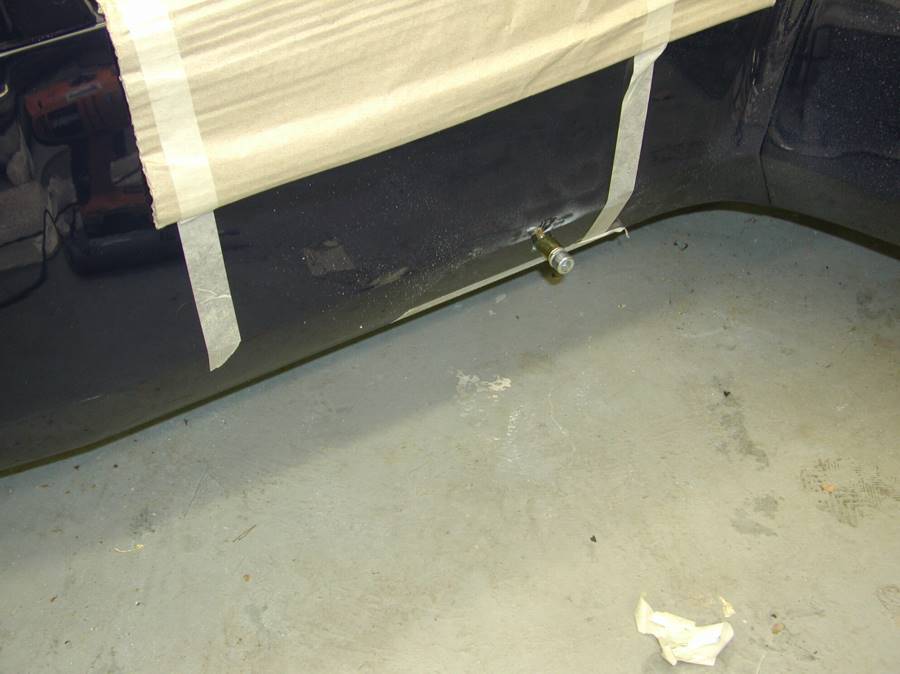
Then we fettled out the hole to take an M10 bolt and ran an M10 tap up the captive thread, thus allowing us to put the bolt and it's brass spacer in...
posted by Tim and Chris @ 5:47 pm
![]()

0 Comments:
Post a Comment
<< Home