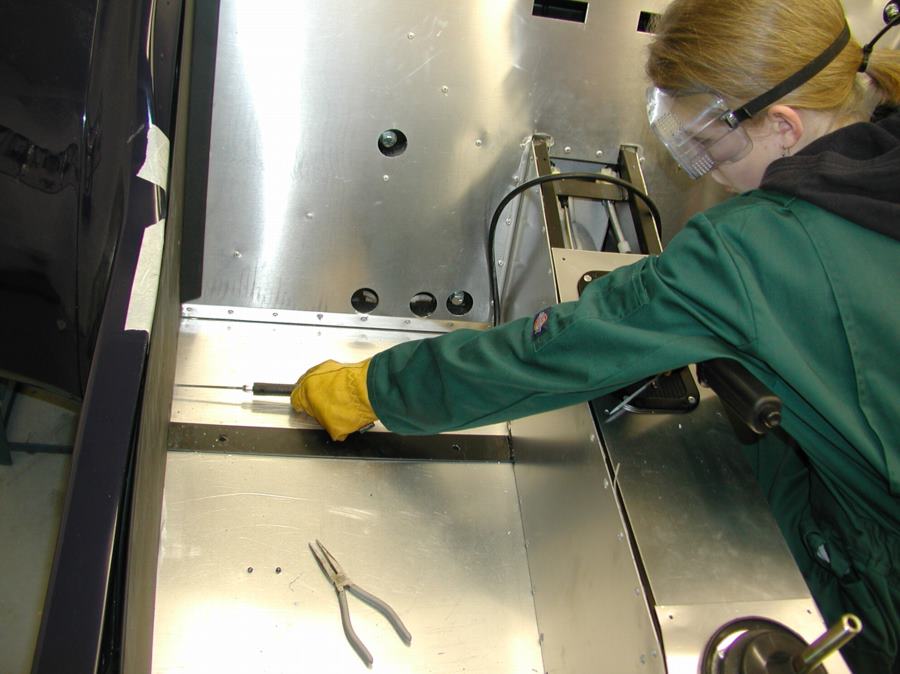
 We did some work trying to drill out the rest of the rivet holes for the interior panel on the drivers side.
Here you can see Chrissy using the dremel-alike with schnozel extension to try and drill into the lower chassis member.
This did not work very well and overheated our dremel-alike, therefore going to try waiting until we have a better drill bit. Which is on order.
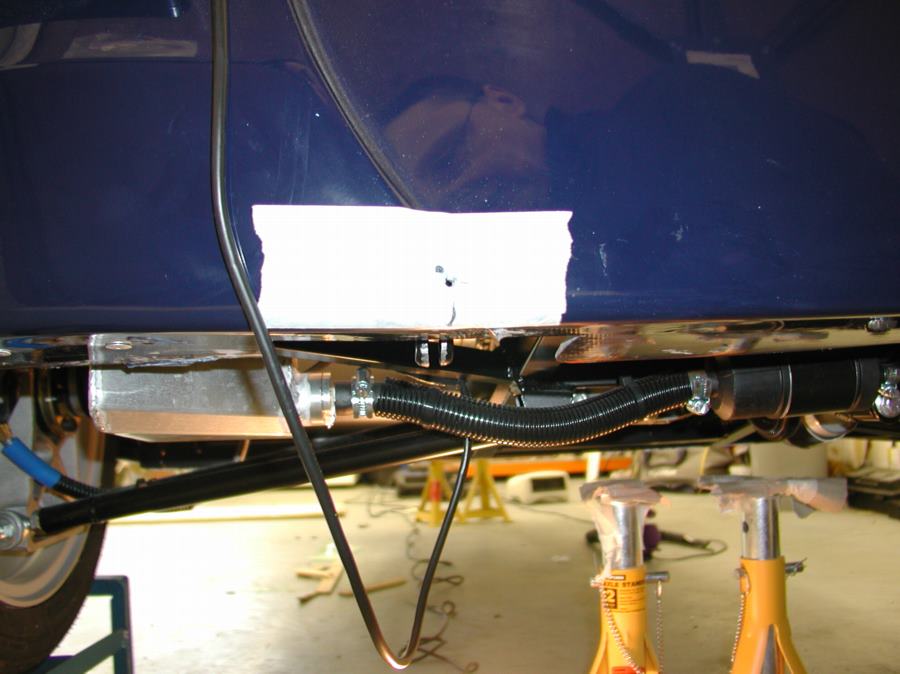 While Chrissy popped out this morning, Tim worked on the lower spare wheel bracket. It is another of those very difficult measuring jobs as everything is a curve. Here you can see the 3mm pilot hole in the back nearside of the car.
And in the next picture you can see the picture from underneath, with a pencil pushed through the bracket to see if the pilot hole is in the right place.
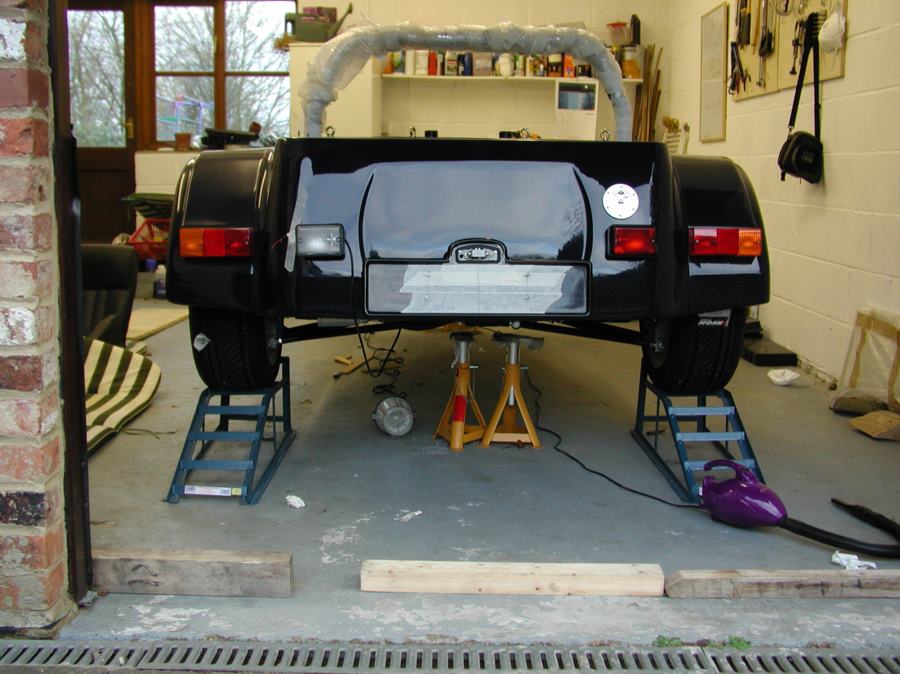
 Because these holes fall on a step in the rear body, they don't look round even if they are. Still at least they will be largely hidden by the spare wheel itself.
Attaching to the lower spare wheel bracket is the numberplate, and attaching to that is the numberplate light. We drilled out all of the necessary holes for these to be fitted.
 But haven't actually attached any yet, as the spare wheel is heavy and we need to see how much the bracket bends down, so may have to enlarge the holes in the body work so that the bracket is not being supported by the GRP.
In the final photo you can see the number plate resting on the bracket, just held in place by rivets push in and friction, the rivets are still to be rivetted.
posted by Tim and Chris @ 5:01 pm
![]()

<< Home