Staurday's post - part II
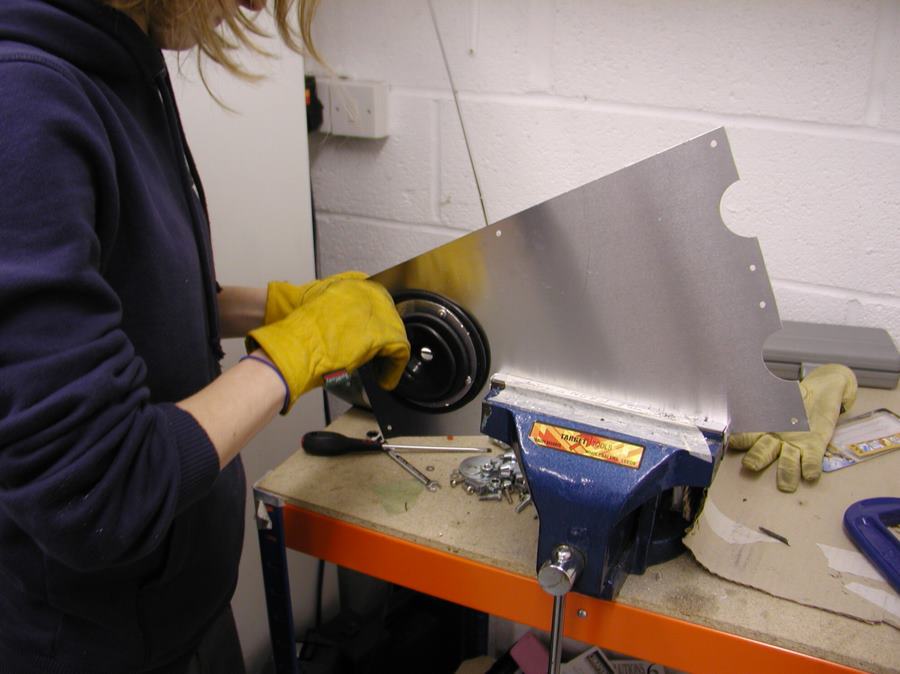
 Here you can see us screwing down the front top transmission panel.
The rear part needed a rubber gaiter riveting to it, through a circular metal bezel.
This process involved several Tim bog ups, including the fact that the original hole for the gearstick Tim had managed to cut too far back and so we had to elongate. The other problem we found was that a lot of the rubber had to be cut from underneath the gaiter to give the wimpy aluminium bezel any chance of compressing it without bending as the rivets were compressed.
In the next photo you can see us pushing the final rivet through ready for the rivetting tool ....
 Whilst all this was going on Chrissy was re-engineering the Ecu plate that we worked on months ago, as we realised that there were solenoids/relays from the main loom that also needed to mounted on that plate., or at least we assume they do, the manual doesn't seem to mention them at all.
When all this was complete we tacked the front panels in place, not wanting to tighten them up yet as we are bound to think of a reason why we need to take them off again in the next few hours!
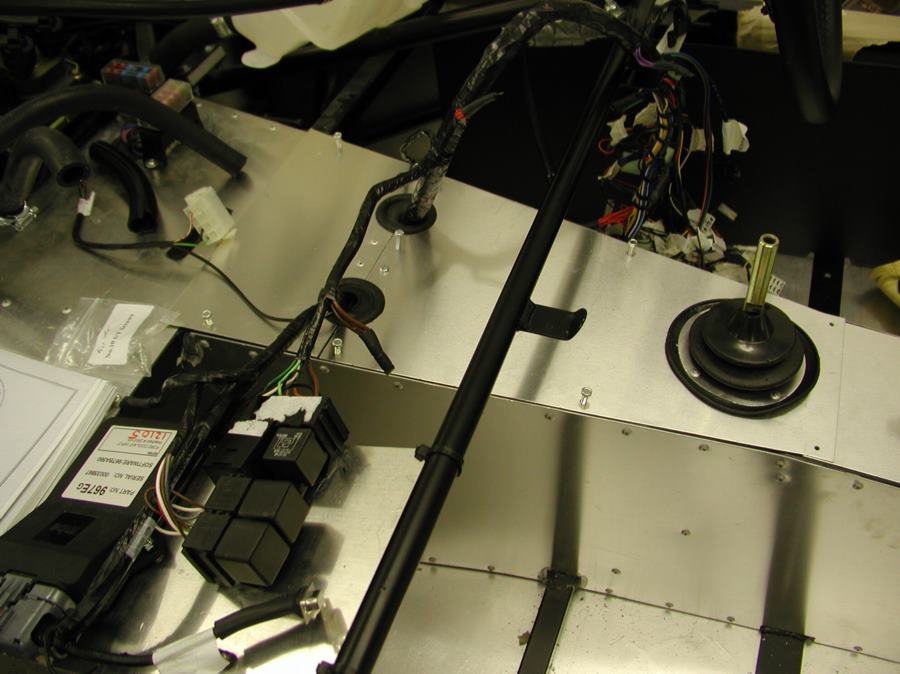 Any way here is a picture of the finished arrangement - with the two sets of cables protruding from the two holes encased in large rubber grommets, and the gear stick protruding from the rivetted on gaiter. Most of these sins will be covered by carpet!
the Ecu plate can be seen on the bottom left of this final photo.
posted by Tim and Chris @ 9:09 pm
![]()

0 Comments:
Post a Comment
<< Home