Body Rivetting and Fuel Filler

We have spent a lot of hours today and made some reasonable progress, but writing it down now it doesn't seem like much return for the investment!
We started with 45 minutes of tidying up the garage, which as always gave us both rotten hayfever. Then after a short break to recover and check on the cricket score, we checked alignment of the panels (which meant once more getting all scuttle/boot box/bonnet/nosecone) down from their various locations in the house.
We also tried to get the wheels equally spaced in the rear wheel arches, but weren't aiming for perfection in that. The boot box certainly fits better now we have adjusted the body a bit with the dremmel.
We don't like the way the bonnet sits much esp where it joins the scuttle but overall it isn't too bad. We then put a couple of rivets into the tabs where the roll bar goes and (shown above) jacked up the rear bodywork and used some clamps to allow the rear skirt to be riveted in place. Meas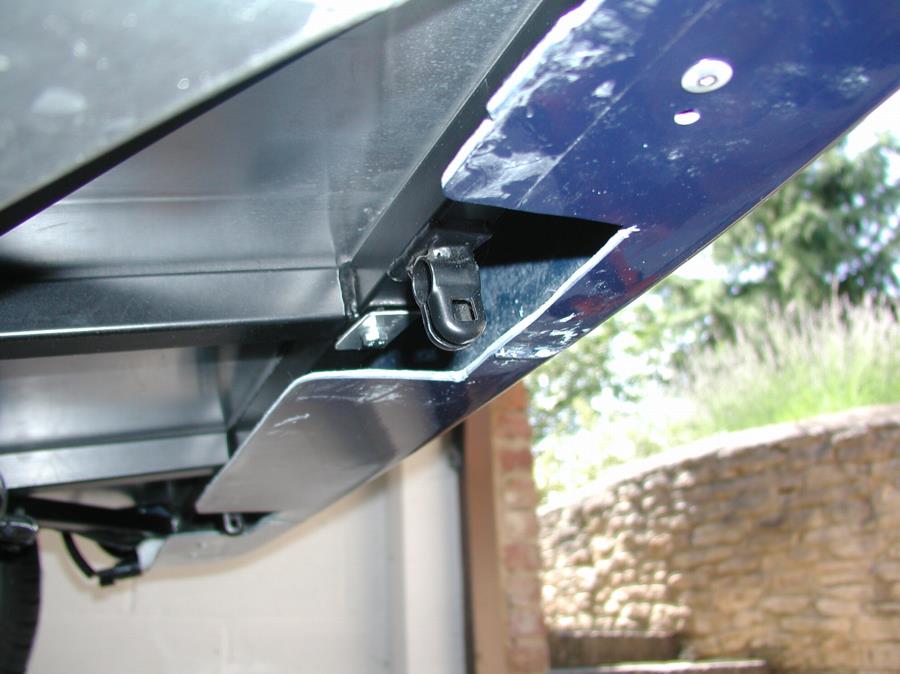 uring and drilling from underneath wasn't easy...
Here is a picture from underneath.
Having got the rear skirt riveted up we took the trolley jack away and got to work on the rear fuel filler.
This took several hours of thinking and working, and even now it isn't finished..

First we marked the inside of the body using a pencil and a ruler to project some points onto the masking tape, then we drew around the plastic cap that had temporarily covered the fuel tank to allow us to get a centre point... then using a dremmel with flexible attachment we drilled inside out a small pilot centre hole
Then we used that as the guide for a 64mm hole saw, the book said the hole should be 65mm dia. but in fact even a 64mm saw gave a hole slightly too big.
 Still at least we got excellent alignment between the fuel tank filler pipe and the hole we cut by this method.
We wet and dried the edges to clean it up and then did a poor job of drilling out the holes for the fixing screws. This was very difficult as our slightly oversize hole meant the fixing holes were very close to the edge - eek!
We then cut the large flexible(ish) tube to join the rear body to the 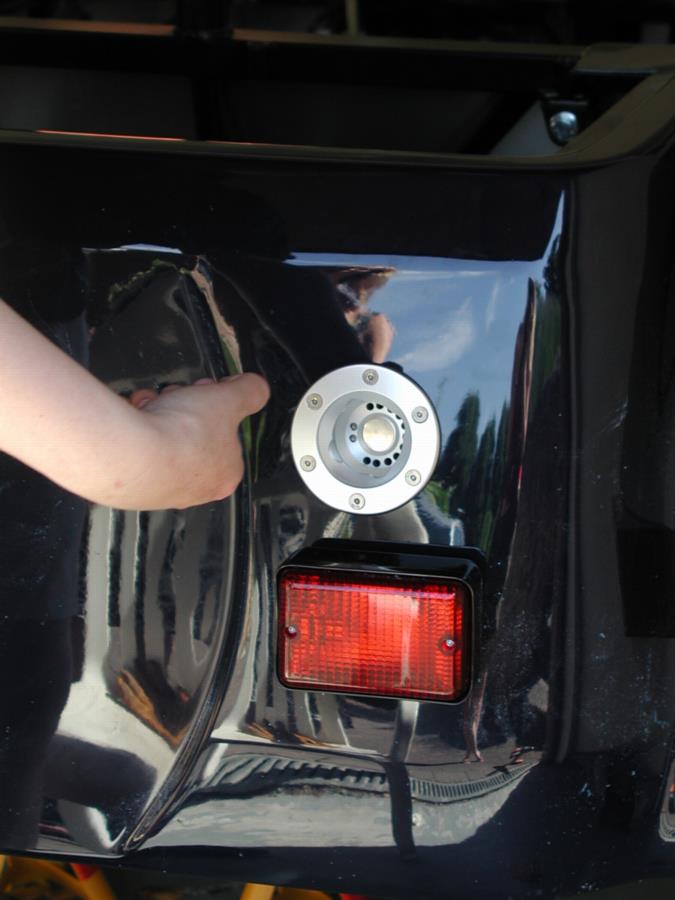 metal tank down to size - obviously this needed several goes, and then a fair amount of effort to get it on the tank.. finally we fitted the fuel filler cap, gasket and locking ring, as shown below... Tomorrow we'll have to take it off again as the fixing bolts don't really line up well enough and given the closeness of the fixing holes to the edge of the big hole, we don't want to put strain on this.
Our list of things to do before test engine start now looks like this
Finish Fuel Filler
Cut ali plates to hold rivnuts behind dash
Put Rivnuts on rear of scuttle to hold dashboard
Dashboard build up
Radiator Overflow Pipe
Header tank
Heater
Fill with water/petrol/oil
Big Check
Fit battery
Fit and tighten wheels
Take of stands and push out
Engine start (need insurance and extinguisher)
We think this is the min. list to get going, note things like heater are not because we are worried about getting cold this sunny July, but because it is integral to the cooling system.
We will have to take some of these bits off again, but our logic is that we should get engine started before we bolt the body too firmly into place.
posted by Tim and Chris @ 5:01 pm
![]()

0 Comments:
Post a Comment
<< Home